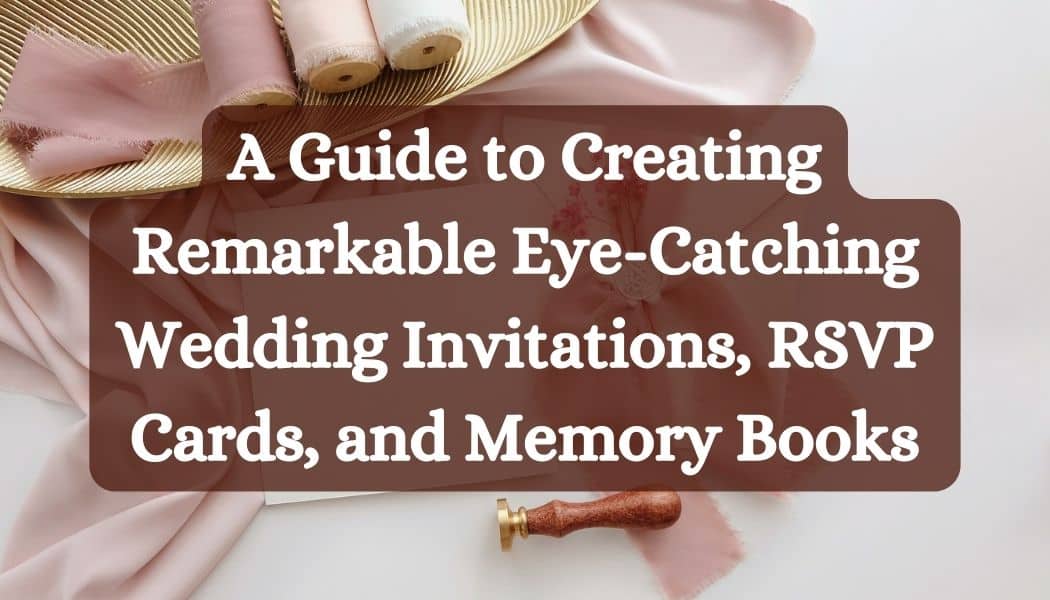
Dive into the art of making first impressions with “Inviting Invitations,” your comprehensive guide to designing wedding invitations, RSVP cards, and memory books that truly stand out.
Envision flipping through pages brimming with expert tips and personalized touchpoints that will announce your wedding and tell your love story. Whether choosing the perfect font and colour palette or finding ways to infuse your unique narrative into each detail, this guide is crafted to inspire you to create stationery that leaves a lasting impression on every guest.
Join us in turning paper into treasured keepsakes for you and your wedding guests.
Table of Contents
How to Create Wedding Invites, RSVPs, and Memory Books
Embark on a creative adventure as we guide you through crafting personalized wedding invites, RSVPs, and memory books that beautifully set the tone for your special day.
Step 1: Start With an Idea (Look Through Pinterest)
When you’re embarking on creating your wedding invitations, RSVP cards, and memory books, it’s ideal to begin with a spark of creativity. This starts with a bit of research.
Delve into the world of Pinterest to find that inspiration. Here, you can discover countless styles, themes, and colour schemes that resonate with your vision for the big day. As you scroll through elegant scripts and whimsical layouts, save what catches your eye and do away with the rest.
This online treasure trove is a springboard for creativity. Let it guide you toward a concept that feels authentically ‘you.’ This is just the starting point. From here, you’ll make it uniquely yours.
Step 2: Use an Incredible Editing Software
Once your idea takes shape, please bring it to life with incredible editing software. Whether you’re a design novice or have some skills, the right program can make all the difference.
Look for software that’s user-friendly yet powerful. For example, something that allows you to adjust layouts, play with fonts, and toy with colour palettes effortlessly. Canva is a great tool that checks off all those boxes, enabling you to design your wedding invite, RSVP cards, and memory books easily. You can even get them printed by one of their professionals!
And if you’re stuck on what to make, you can use Canvas templates. With a few minutes of work, their templates can be customized to fit your wedding theme perfectly.
While creating your wedding invitations or RSVP cards by hand can make them more personal, not everyone has that time. This is especially true if you have a lot of guests.
For memory books, taking a half-electronic, half-handmade approach is often best. For example, you can edit and print out pictures from your computer and glue them in or purchase a nearly complete memory book with the photos already printed on the paper. With both examples, you can use any space to include text, dried flowers, stamps, or other decor.
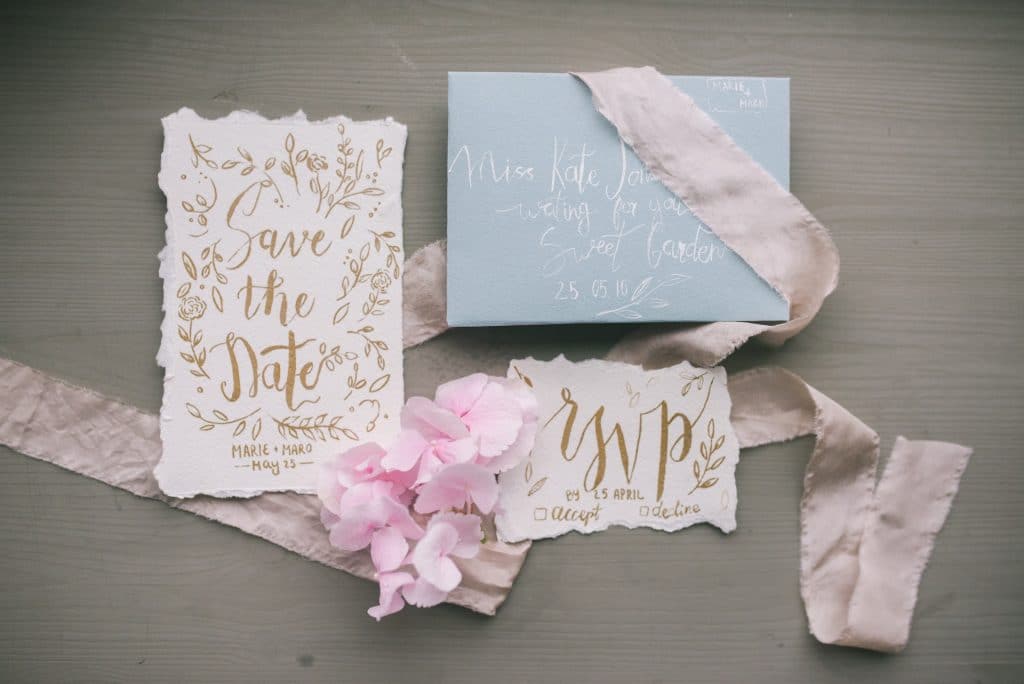
Step 3: Understand Each Invitation, Card, or Books Dimensions and Layout
Wedding invites, RSVP cards, and memory books have standard layouts and dimensions. While you’re welcome to change them (especially if you’re going for an unconventional wedding), you should use these standards to help you create a first draft.
Here are the standard dimensions for each invitation or book:
- Wedding Invitations: 4.5″ x 6.25″
- RSVP Cards: 3.5″ x 5″
- Memory Books: 5½” x 8½”, 6” x 9”, 8½” x 11”, or 9” x 12”
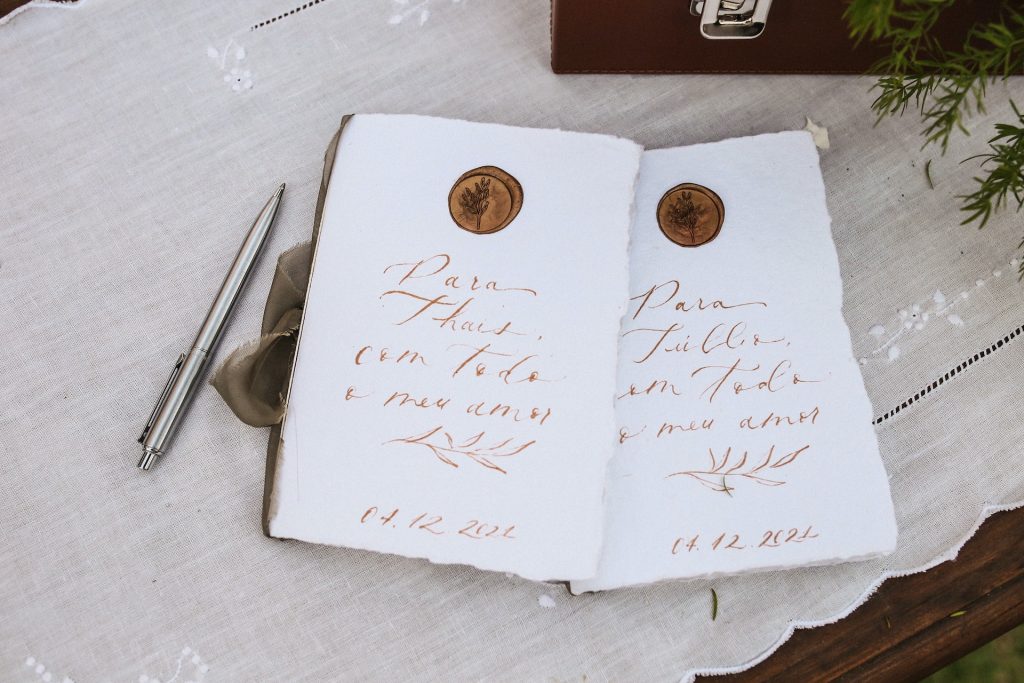
As for the layout of each invitation or book, memory books give you more to play with. With that said, it should follow a logical order. For example, the cover and first should include you and your spouse’s name. More often than not, memory books start with the engagement or the start of the wedding and end with you leaving the wedding or going off on your honeymoon.
The layout for wedding invitations and RSVP cards is more straightforward:

- Wedding Invitations: One page. From top to bottom: Image or a border, a poem or invite (“we invite you to our wedding”), you and your spouse’s name, the location, the date of the wedding, the date to RSVP by, and where to provide RSVP information.
- RSVP Cards: One page. From top to bottom: The words “RSVP,” date of RSVP, the names of your guests, food preferences (i.e., beef, chicken, or plant-based), song requests (if applicable), a place where guests can check “yes” or “no.”
While you don’t have to include a back-to-your-wedding invitation or RSVP card, it can make them stand out. Make sure to keep the flip side of these documents with your theme.
You can also combine your wedding invitation and RSVP cards to cut costs.
Step 4: Think About Your Location
The location of your wedding can significantly influence the design and tone of your invitations and books. For instance, a beachfront “I do” calls for breezy colours and laid-back fonts, while a castle backdrop might inspire an England trip or more regal and formal choices.
Consider your venue’s scenery, architecture, and atmosphere as you brainstorm invitation ideas. If you’re saying vows in a garden filled with roses, perhaps floral motifs and pastels could feature in your design. The key is to let the spirit of your location infuse into every aspect of your invitation, creating a cohesive preview of where you’ll begin this new chapter together.
However, where you place these design elements will change depending on what invitation or book you’re designing. Here are a few tips to follow for a location-based theme:
- Wedding Invitation: Use borders or backgrounds to show a theme. If you’re using a background, make sure it doesn’t clash with your font or make the text hard to read.
- RSVP Cards: Ideally, you’ll limit the number of graphics on these cards because you have limited space. Maybe add an icon or a full-colour graphic on the back of the card.
- Memory Books: Borders or backgrounds work well, and since you have more pages to work with, you can mix and match what design elements you use from your location.
Wedding photos are another reason to think about your wedding’s location. Since your photos in your memory book will undoubtedly follow a specific theme (often dictated by your location), you’ll need to ensure the other elements in your book complement said theme.
Step 5: Choose the Right Fonts and Colors
Your choice of fonts and colours sets the mood for your wedding before guests ever step foot at your venue. Elegant script fonts exude sophistication, while block type suggests a modern affair.
Think about what each font communicates: playful, traditional, or cutting-edge. How do these fonts complement the rest of your invitations, cards, and books? Most importantly, are they legible? You wouldn’t want to make it impossible for your guests to read your writing!
Similarly, your colour palette can evoke emotions: soft blush tones whisper romance, whereas deep blues can convey serene elegance. Try to align these elements with the overall vibe you aim to achieve, as the right fonts and colours are tools that can tell an unforgettable story.
Here are some tips you should use to create something incredible:
- Use Two Fonts: You and your spouse’s names should be in a separate font. You can avoid using a script here but use something more muted for the rest. The “RSVP” on the card should be bold to draw the eye immediately.
- Use Different-Sized Fonts: You and your spouse’s names should be in the biggest font on the invitation and book. The words “RSVP” should be the largest on the card. All titles in your memory books should be the most extensive fonts to understand what’s next.
- Match Your Wedding Colors: Your invitations, cards, and books should include colours that match your wedding colours. This will make it much easier for you to incorporate these items into your wedding. It’s also a good idea to go with a specific theme.
- Incorporate Photos: Except for the RSVP card, incorporating photos into your invitations and memory books is not a bad idea. If you’re uncomfortable with pictures and graphics, vector images work if they match your colour theme.
Memory books give you more space to experiment with your creativity. If it looks aesthetically pleasing, you can place photos, text, and decor anywhere you like. However, most memory books start with a border or keep a theme. For example, you may want to include the colour of your wedding dress or a border of decor elements from your reception.

However, ensure that the font and colour schemes don’t change too much, or you’ll affect the book’s flow. Stick to 3 colours (excluding white and black) and three fonts, if possible.
Step 6: Inject Your Personality
Your wedding invitations should mirror your and your partner’s personalities. If you both love humour, why not incorporate a playful joke or a witty quote? Adventure lovers might add elements that hint at their wanderlust, like vintage maps or travel motifs.
Moreover, consider the hobbies and passions that bond you as a couple. Maybe there’s a specific art style you both adore, or music is your shared soul language. Use these personal touches in your design. You’ll want people to know this is your wedding, not someone else’s. Your invitation should scream, “This is us, and this is who we are!”
Remember, this day is about celebrating the unique love you share, so let those quirks shine through on paper. Unique invitations, cards, and books are also more fun to look back on.
Step 7: Consider How You Two Met
The narrative of how you met is the prologue to your love story and can be a delightful element to weave into your wedding stationery. Imagine little Easter eggs planted within the design, like a small illustration of that local coffee shop where your eyes met for the first time.
These details don’t just add charm. They invite your guests into the story, making them feel an intimate connection. If you want to go above and beyond (and get creative!), you can make your invitation and card and book each a different part of your love story.
For example, the initiation could include two coffee cups on the front and images from your first date on the back. Your RSVP card could have little icons from the following dates or key moments you spent together. Finally, your memory book could dive into the days before your engagement and wedding. If you do this, your invitations, cards, and books will be memory markers.
In Conclusion…
As you close this chapter, filled with the promise of beautiful beginnings, remember that your wedding stationery is more than just paper. It’s the prologue to the story you’re about to write.
So be bold, immerse yourself in colours and fonts, let your story shine through each detail, and most importantly, have fun! Your invitations await your magic touch—start designing today and create pieces that will be cherished long after the last dance.
Now, make every envelope a harbinger of joy and every page a snapshot of love!
FAQ: How to Design Wedding Invitations, RSVP Cards, and Memory Books
Is it cheaper to design your invitations, cards, and memory books?
It’s cheaper to design your invitations, cards, and memory books, even if you’re not a designer. With that said, it will take you much longer to make all of these things from scratch, especially if you’re designing by hand, so factor in the time spent when you go the DIY route.
How can I make my invitations, cards, and memory books look expensive?
There are a few ways to make your invitations, cards, and memory books look expensive. You should use high-quality paper and printing methods, photographs, vellum overlays, borders or painted edges, envelope liners, double-sided printing, and gold leafing.

How many invitations and RSVP cards do I need for 200 guests?
You don’t need to send out 200 invitations or RSVP cards for 200 guests. Since your guest list will likely include couples and children, you’ll likely only need 130-140 invitations and RSVP cards. Instead of counting each individual, count each group that plans to be at your wedding.
When should I start creating my wedding memory book?
Start creating your wedding memory book at the wedding or after the wedding. While at the wedding, you can ask your friends and family to provide pictures of memorabilia that remind them of you and your spouse. After the wedding, you can start putting it together.


