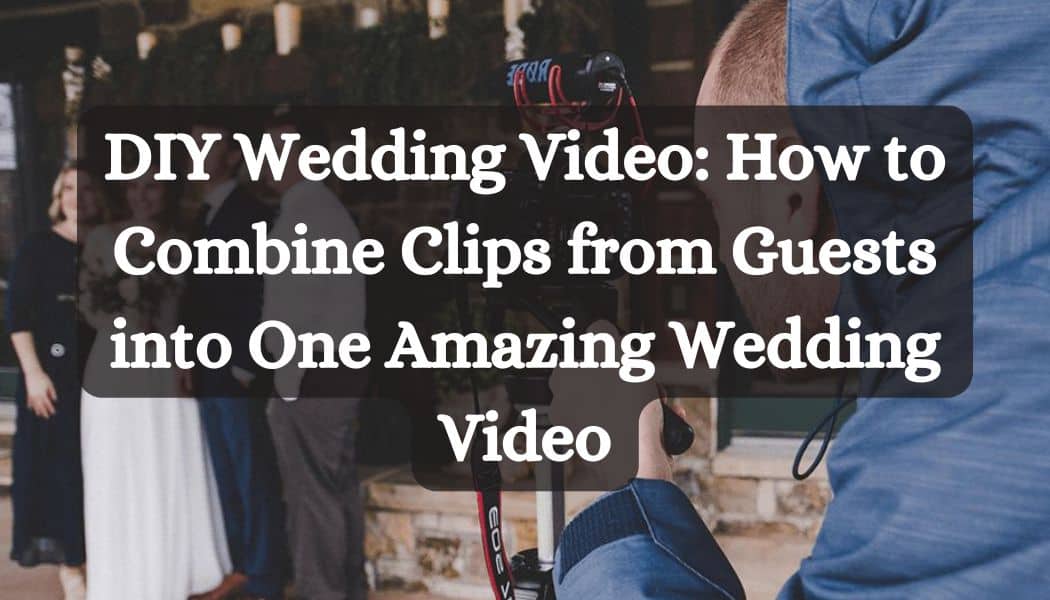
Suddenly it hits you: everyone at your wedding will be holding a high-definition camera in their pocket. Friends and family already plan to film the first dance, the cake-cutting, the late-night dance-floor chaos — so why not turn all that raw footage into a single, unforgettable keepsake?
A DIY wedding video does exactly that. Instead of hiring a traditional videographer, you curate and edit the clips guests capture on their phones or cameras into a polished narrative that feels as personal as the vows themselves.
This guide walks you through every stage — from shaping a story to editing a final wedding video montage.
Table of Contents
What You Need to Make a DIY Wedding Video Out of Clips from Guests
We’re sure you know why you need a wedding video, but “How can I make it?” and “What do I need for that?” are the questions we want to answer.
A Clear Plan
Decide early whether the finished film will be a three-minute highlight reel, a 10-minute documentary, or a feature-length recap. Knowing the runtime informs how many clips you ask for and what coverage you still need to capture yourself.
Adequate Storage and Organization
Budget at least 500MB per guest who is likely to film — phone video in 1080p piles up quickly. Create subfolders for ceremony, speeches, first dance, and dance floor to keep your future self sane.
Reliable Editing Software
The ideal video maker is the one you already know or can learn quickly. All of them can cut, trim, color-correct, and mix audio; some add AI-powered features like automatic beat synchronization. While it’s fun to edit clips yourself, sometimes it’s best to let experts handle the footage, using professional wedding video editing services to create a memorable wedding video.
Backup Drives
Preserve the original clips on a second drive before you even open your editor. Cloud versions are good, but a physical SSD offers lifesaving redundancy when deadlines — or laptops — crash.
Soundtrack Assets
Royalty-free music libraries keep YouTube’s copyright bots happy and give your film emotional backbone.
But if you’re just making the video for yourself and your family/friends, you don’t have to care about copyright; in this case, the choice of music is unlimited.

Creating a Wedding Video Montage
Now that we’ve covered some basics, it’s time to get into the good part: actually making the video.
Prime Your Guests Before the Wedding
If making a DIY wedding video isn’t an afterthought, you can inform the guests that you’re planning to use their clips beforehand.

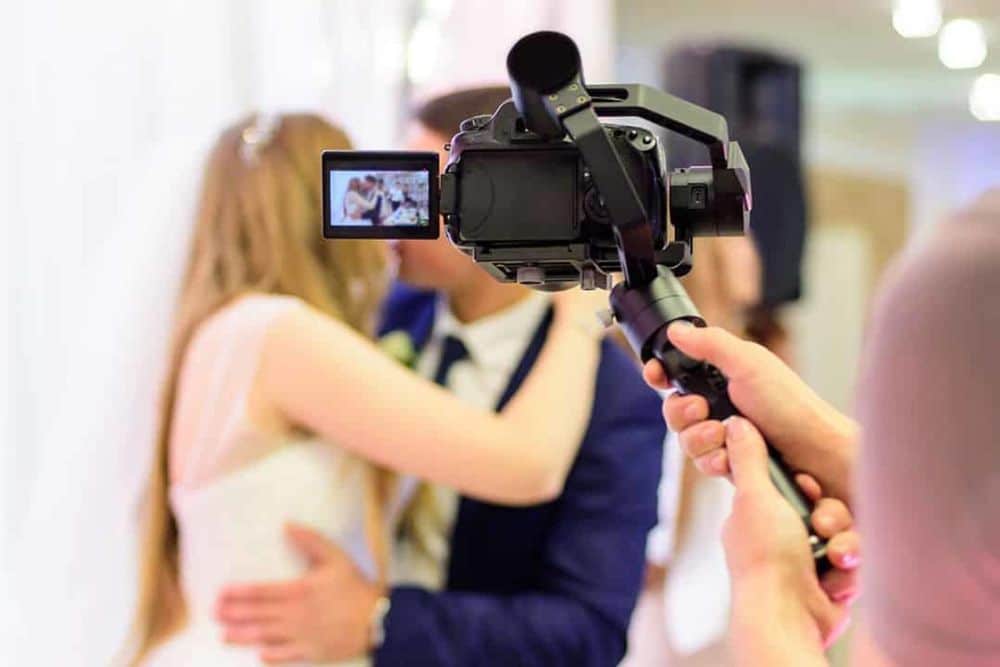
Let friends and family know exactly what to film. Encourage horizontal orientation, steady hands, and minimal zooming. If someone owns a gimbal or a GoPro, invite them to bring it. The more variety, the richer the final cut.
Collect and Triage Footage After the Event
Within 24 hours, send a gentle request to share the footage. Momentum fades fast once real life resumes, so strike while excitement lingers.
As files arrive, rename them with the sender’s initials and sequential numbers and drop them into your master folder. Quick playback checks unusable clips — shaky, vertical if you’re building a horizontal film, or hopelessly underexposed.
Build a Story Skeleton
Every great wedding film has a narrative arc: anticipation, ceremony, celebration. Import clips into your editing timeline and create three bins mirroring those acts.
Watch everything on fast-forward once, dropping marker notes when something sparks joy or tears. Select the strongest moment for each major milestone (entrance, vows, first kiss) and piece them together to form a rough storyline. Resist perfectionism here; you’re sketching, not chiseling marble.
Sync and Level Audio
Each phone microphone records different audio levels, so normalize them to a consistent volume. Most editors feature automatic waveform syncing — lean on it. Pad jump cuts with ambient sound from another clip, so transitions feel seamless.
Refine the Visual Flow
With audio locked, prune long pauses and reaction shots that don’t move the story. A good rule of thumb is to change angle every five to seven seconds, unless emotional weight merits lingering.
Insert establishing shots — exterior footage, decor details, candid laughter — to breathe between big beats. A tasteful dissolve or whip-pan can cover jarring perspective changes, but keep special effects minimal; authenticity is your aesthetic.
Color-Correct and Stylize
Unify different phones’ white balances by matching exposure and temperature. Most software offers LUTs or one-click color matching. Warm highlights and slightly desaturated greens often read as timeless.

If you crave a distinct look, create a mild signature LUT and apply it globally at 20% opacity for cohesion without crushing individuality.
Add Titles and Graphics
Open with names, wedding date, and location in a discrete lower-third. For a creative flourish, overlay hand-drawn doodles of the bouquet or the venue’s skyline.
Keep fonts clean and legible — script for headings, sans-serif for captions — to avoid clashing with the footage.
Score the Emotion
Drop your chosen track under the highlight sections, ducking it during live vows or speeches so dialogue shines. Sync beat drops with high-energy moments — confetti cannons, bouquet tosses — to heighten impact.
Deliver Multiple Versions
Export a full-length film for keepsakes, plus a one-minute vertical cut for Instagram Reels or TikTok (if you’d like to share the video there, of course). Label files clearly.
Upload to a share-friendly platform and set viewing permissions, so relatives worldwide can cry happy tears without technical hurdles.
Tips on Making a Wedding Video
Let’s also discuss some useful tips for those who want to create a DIY wedding montage.
- Prioritize Emotion Over Perfect Coverage: Viewers will forgive a shaky hand if the content punches them in the heart. Keep that candid clip of Grandma wiping a tear, even if the exposure isn’t textbook.
- Keep the Final Runtime Tight: Ten to fifteen minutes feels digestible. Anything longer risks gathering digital dust. If you can’t bear to cut more, release bonus chapters — speeches, bloopers — separately.
- Record Ambient Sound Intentionally: A 30-second room tone clip (no dialogue, just subtle crowd murmur and clinking glasses) smooths over audio gaps. Have someone capture this during cocktail hour.
- Color-Grade Last: Lock your edit before stylizing. Adjusting contrast too early can lure you into recutting shots just to match exposure, adding needless hours.
- Take Breaks: Editing fatigue numbs judgment. Step away overnight, then rewatch fresh. You’ll instantly spot pacing lulls and unnecessary slow motion.
- Export at High Bitrate First, Compress Second: Render a master file at maximum quality. From this pristine source, create smaller versions for mobile or social. Never compress, delete the master, then realize you need a Blu-ray later.
Fresh Wedding Video Ideas to Spark Creativity
Here are a couple of ideas to help you get inspired:
First-Look Split Screen: Pair the bride’s perspective with the groom’s using guest phones filming simultaneously. Play them side by side for a heart-melting dual reaction.
Speech Supercut: If you’ve got multiple friends recording toasts in selfie mode throughout the reception, stitch their funniest or most poignant lines into a rapid-fire montage between dance segments.
Vow Overlay: Transcribe the vows as on-screen text appearing line by line while slow-motion footage rolls underneath. Viewers absorb the words even if room acoustics muddy clarity.

Night-Sky Ending: If you have footage of sparklers or fireworks, fade to that starry burst under the final chorus — classic yet unbeatable.
Final Thoughts
A professional videographer delivers stunning results, but a DIY wedding video stitched from guest clips offers something money can’t buy: hundreds of tiny vantage points, each colored by the relationship between camera holder and couple.
The process teaches you how to make a wedding video that is equal parts documentary and love letter — an heirloom peppered with private jokes, impromptu dance moves, and the shaky sincerity that only friends can capture. With a strategic workflow, a dependable video maker, and a dash of patience, you’ll craft a finished film that feels as good as the day itself — one that time-travels you back to every hug, laugh, and happy tear for years to come.


